This is part 3 of our tutorial series on how to build Arrma Limitless from the ground up. In our part 2 tutorial, we covered how to install a servo motor. Now, we learn how to attach an ESC on Limitless.
List of Tutorials
Below is the list of all the tutorials in this series.
- Getting Started
- Installing Servo Motor
- Installing ESC
- Installing Receiver
- Installing Servo Horn
- Installing Motor
- Spray Painting the Body
- Applying Decals
Things You Need
Below is a list of parts you need to proceed. Some items are optional.
- An ESC (Electronic Speed Controller)
- Hex/Allen keys – inside Limitless package
- Double-sided tape or 3M Dual Lock
- Electric-powered drill – if you decide not to use double-sided tape
- 3mm drill bit – if you decide against the use of double-sided tape
- LiPo battery connectors – if your ESC doesn’t include them
- Soldering iron and solder – if you need to solder your own LiPo connectors
- Plier, vise grip, or third hand – to grab on the connectors while soldering
What is an ESC
As implied by its name, an ESC (Electronic Speed Controller) controls the speed of an RC car by sending appropriate electrical power to the motor to speed up, slow down, or even to brake or reverse. It receives the signal from the radio receiver based on the throttle input from the transmitter and the power from the LiPo batteries. Think of it like the transmission system of your standard automobile.
Recommended ESC for Limitless
Choosing the right ESC does depend on the motor it will be powering. If you plan to go for faster, higher-end motors, we recommend XLX2. Mamba XLX2 ESC by Castle Creation is probably the most popular ESC used on a Limitless. The other lesser option is the Mamba Monster X 8S (also known as MMX8). Both can support up to 8S LiPo battery and both can fit inside a Limitless ESC box. In this tutorial, we shall demonstrate how to install the XLX2.
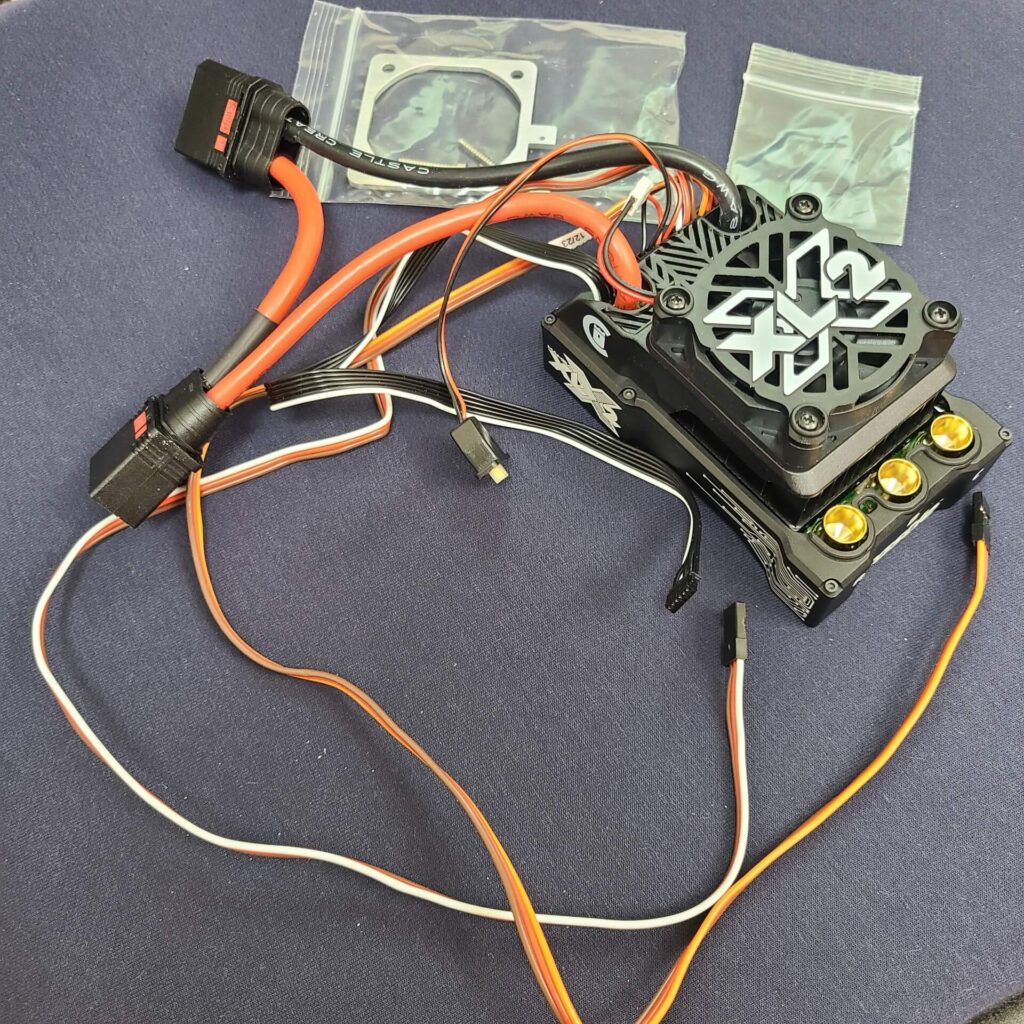
This powerful ESC comes with three ribbon cables – the receiver (RX) cable, the auxiliary (AUX) cable and the motor sensor cable. The only critical cable is the RX cable and it should be attached to your radio receiver. You may choose to use the other cables if you see fit. You may refer to the XLX2 manual for more information.
XLX2 also comes with three 8mm female bullet connectors to connect the three wires from a brushless motor. These will fit any QS8 connector.
Mounting ESC on Limitless
There are two methods to mount the XLX2 ESC on Limitless.
- Mounting using screws and require drilling holes
- Mounting using double tape or 3M Dual Lock
Mounting by Drilling Holes and Using Screws
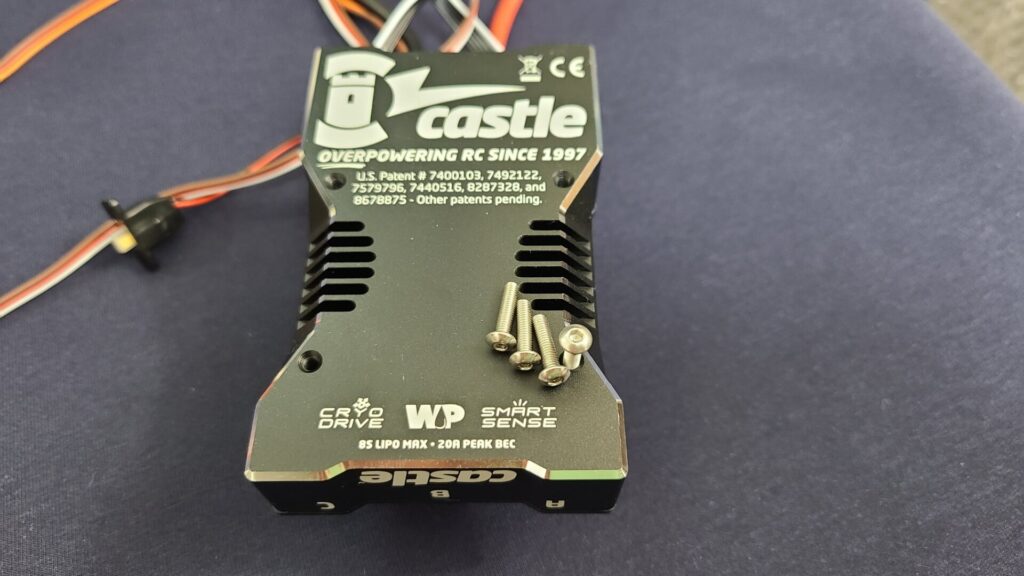
The Mamba XLX2 package includes four M3 mounting screws. We need to drill four 3mm mounting holes on the ESC box to insert these screws.
One method of labeling the location of the holes prior to drilling is to use double tape. Place four tapes on each corner of the ESC box where you think the screws will be placed. Then, partially drive in the four screws into the ESC mounting holes. Next, place the ESC on the box and provide enough pressure to create four indentations to mark the screw locations.
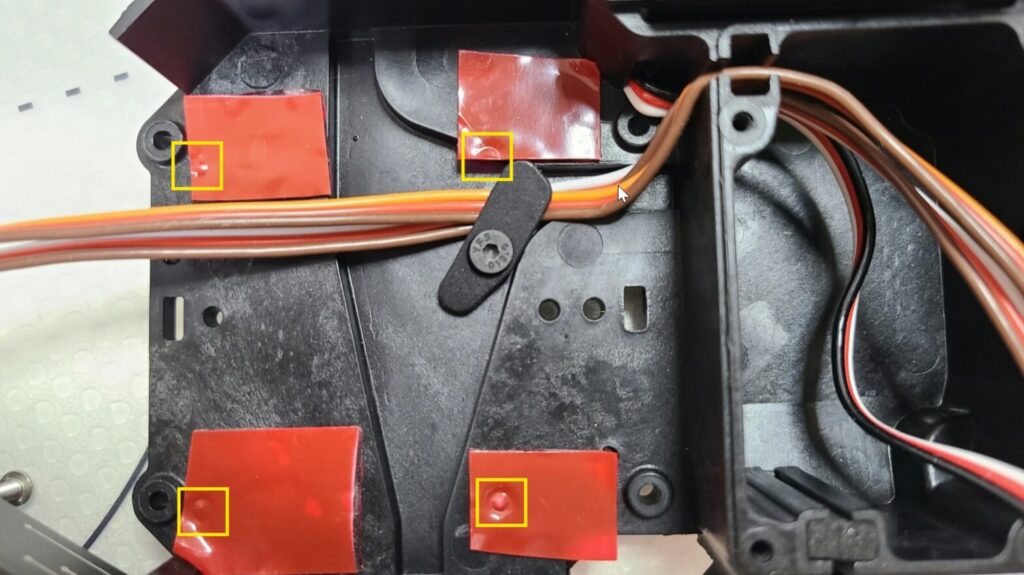
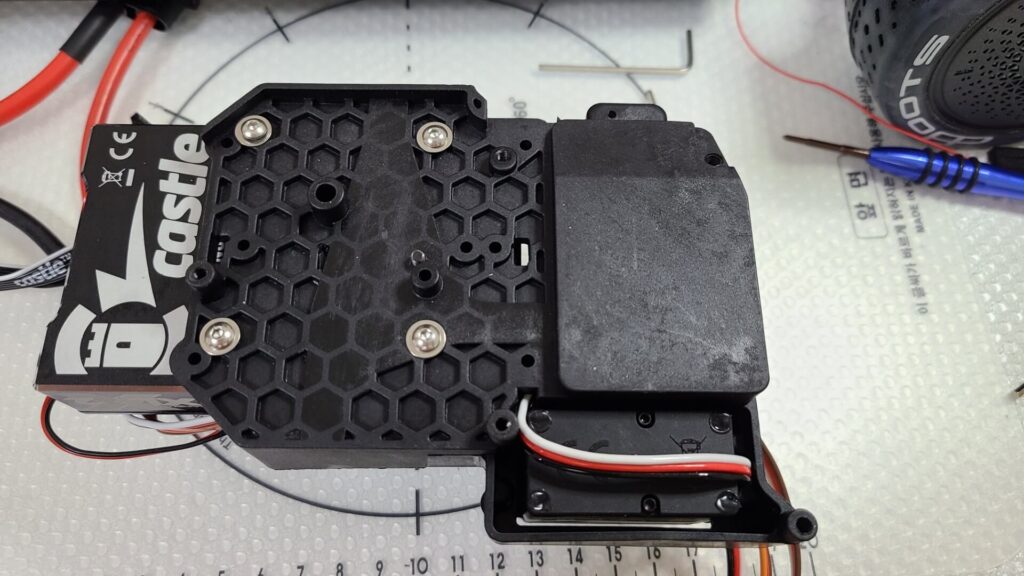
Once the holes are drilled, you may begin mounting the ESC. To ensure a secured fit, arrange the ESC ribbon wires using the cable fastener shown in the photo above. The cables should enter the receiver box on the right side via the vertical slot.
Mounting by Using Double-Sided Tape or 3M Dual Lock
The other less intrusive mounting option is to stick double-sided tape on the bottom of XLX2 and attaching it inside the Limitless ESC box. Do ensure you use a tape with strong adhesion. You may also use a 3M Dual Lock.
Securing the ESC On-Off Switch
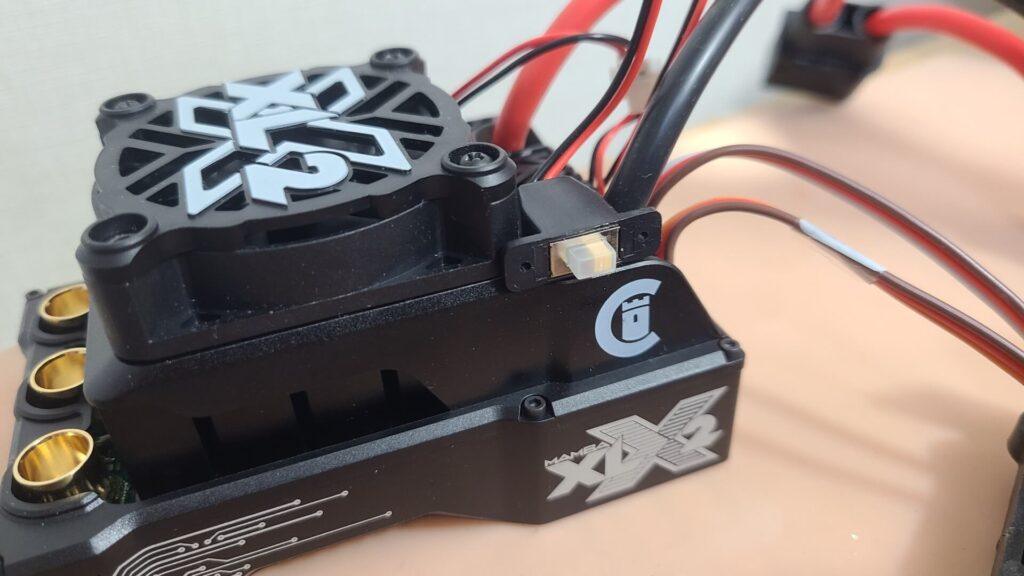
Every ESC comes with a power switch and the easiest way to attach the XLX2 switch is to mount it on the ESC housing by securing it with double-sided tape, as depicted below.
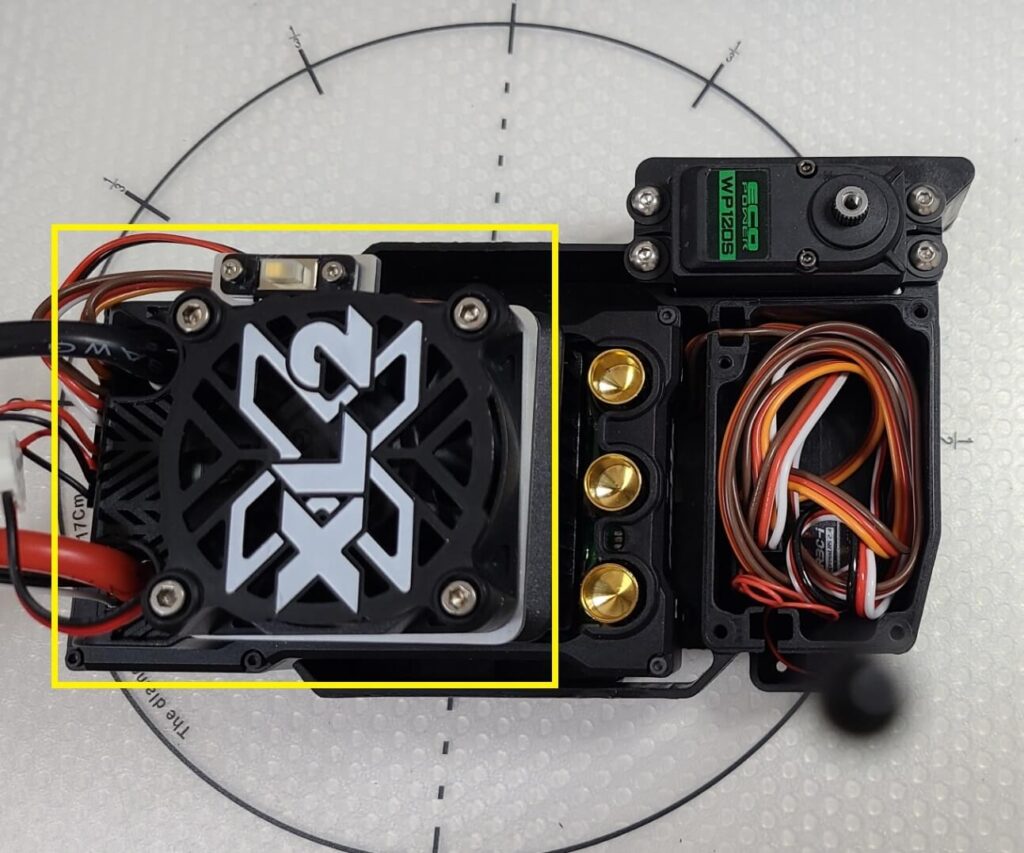
However, the most recommended way is to purchase a mounting plate that fits the switch on the ESC, as shown in the photo below. This plate should come with its own four screws that are longer than the stock screws (18mm length including the head with 2.5mm outer diameter including thread) due to the increased thickness added in by the plate. You could also 3D print your own switch mount, but do note the need to get custom screws.
Choosing Battery Connectors for ESC
An ESC comes with wires to connect to the battery. For XLX2, it includes two thick wires – red (positive) and black (negative). Each end of the wire is not soldered to a connector but instead, the manufacturer gives you the option to solder your own type connector. But they do highly recommend the use of high-current connectors such as QS8.
We recommend a minimum 150 amp connector for the XLX2; examples include Castle 6.5mm polarized, EC8 and QS8. DO NOT USE XT90, Traxxas, EC5/IC5 or any other connectors rated below 150 amps continuous. – Castle Creations
We encourage the use of QS8 connectors. They are also called 8mm bullet connectors thanks to the bullet shape of the male variant with an outer diameter of 8mm. You may also use QS8-S connectors which are the enhanced version that offers a rated continuous current load of 200A and with double locking housing.
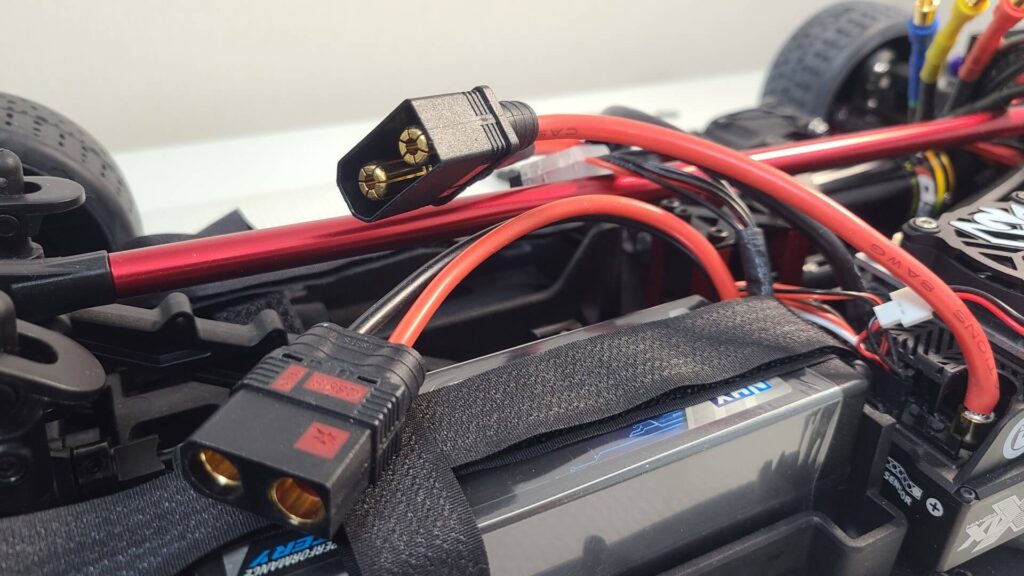
Arrma Limitless comes with two battery compartments, thus, you can connect two LiPo batteries to your ESC. Generally, you would use a 4S LiPo battery on each side. Therefore, you want to have two connectors coupled in series on the ESC that connect to both of the LiPo female connectors. The ESC should have the male connectors since most batteries carry the females.
For convenience, you may purchase an ESC that is pre-installed with two QS8 connectors. If you choose to solder your own connectors, you may follow the video below.
Continue to Part 4 – Installing Receiver >
If you’re an owner of Arrma Limitless, join us to get a chance to be a world champion in Formula RC.